Artificial Intelligence for Materials Design Laboratory (AIMD-L)

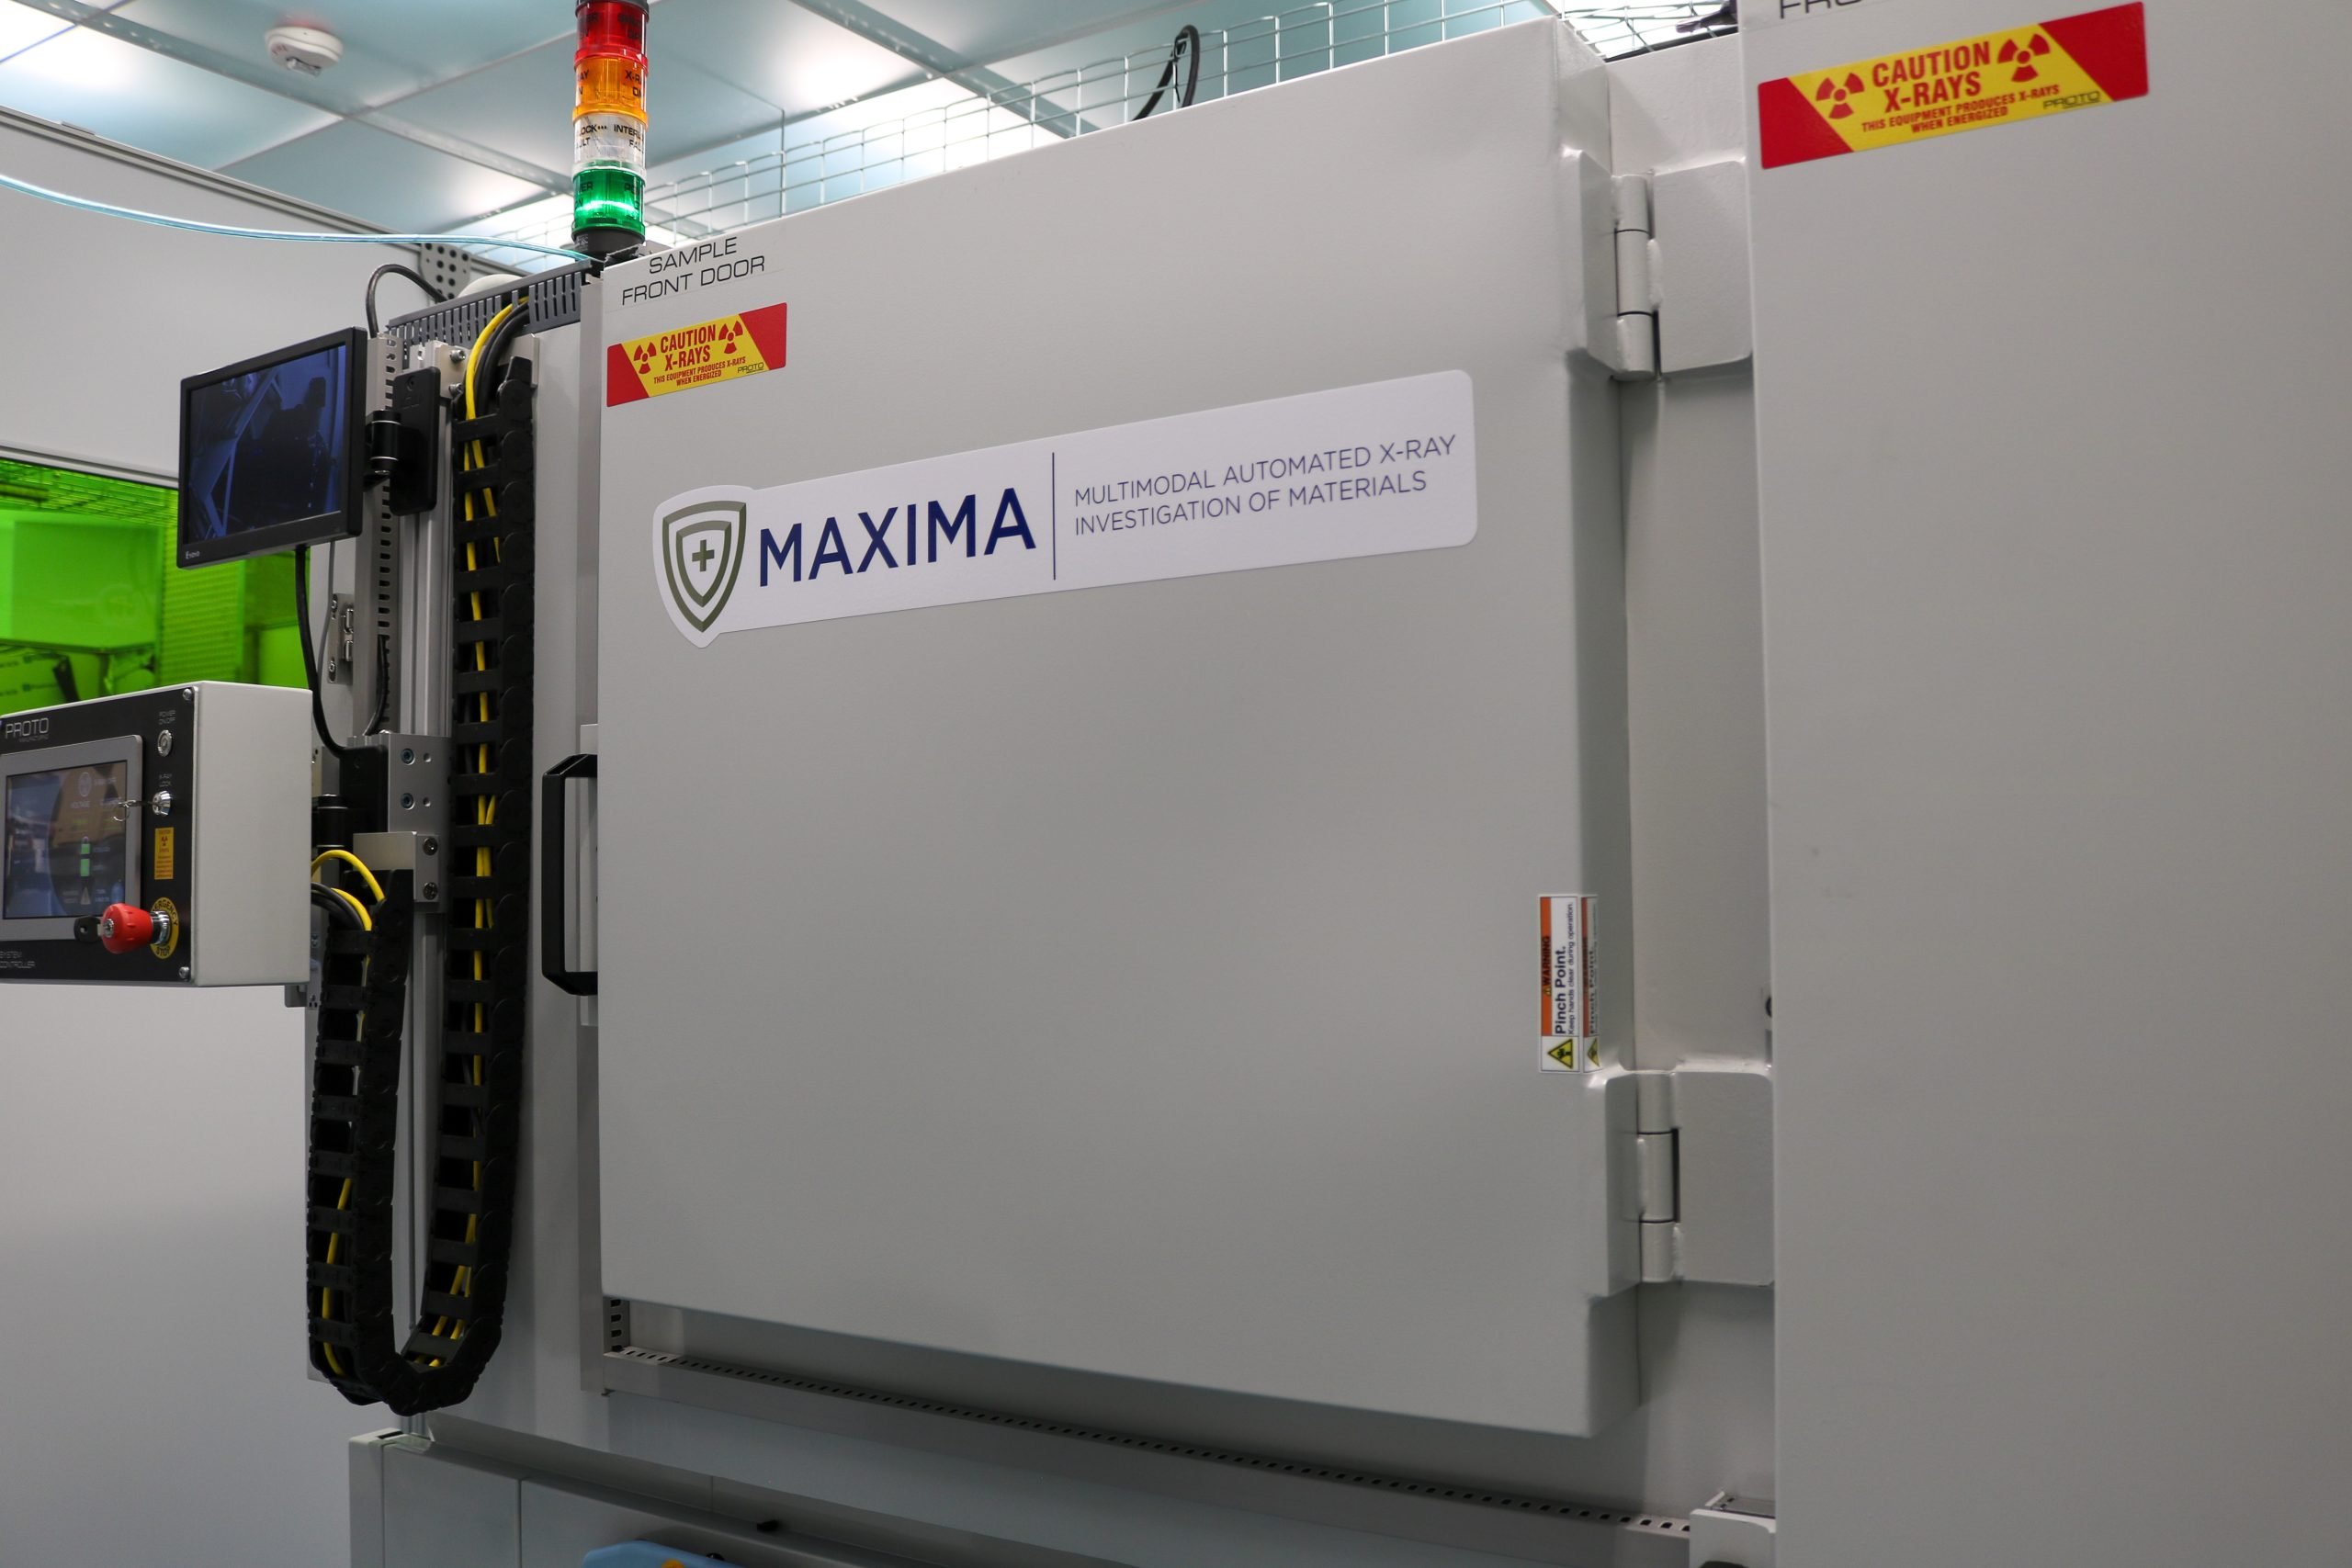
MAXIMA with door closed
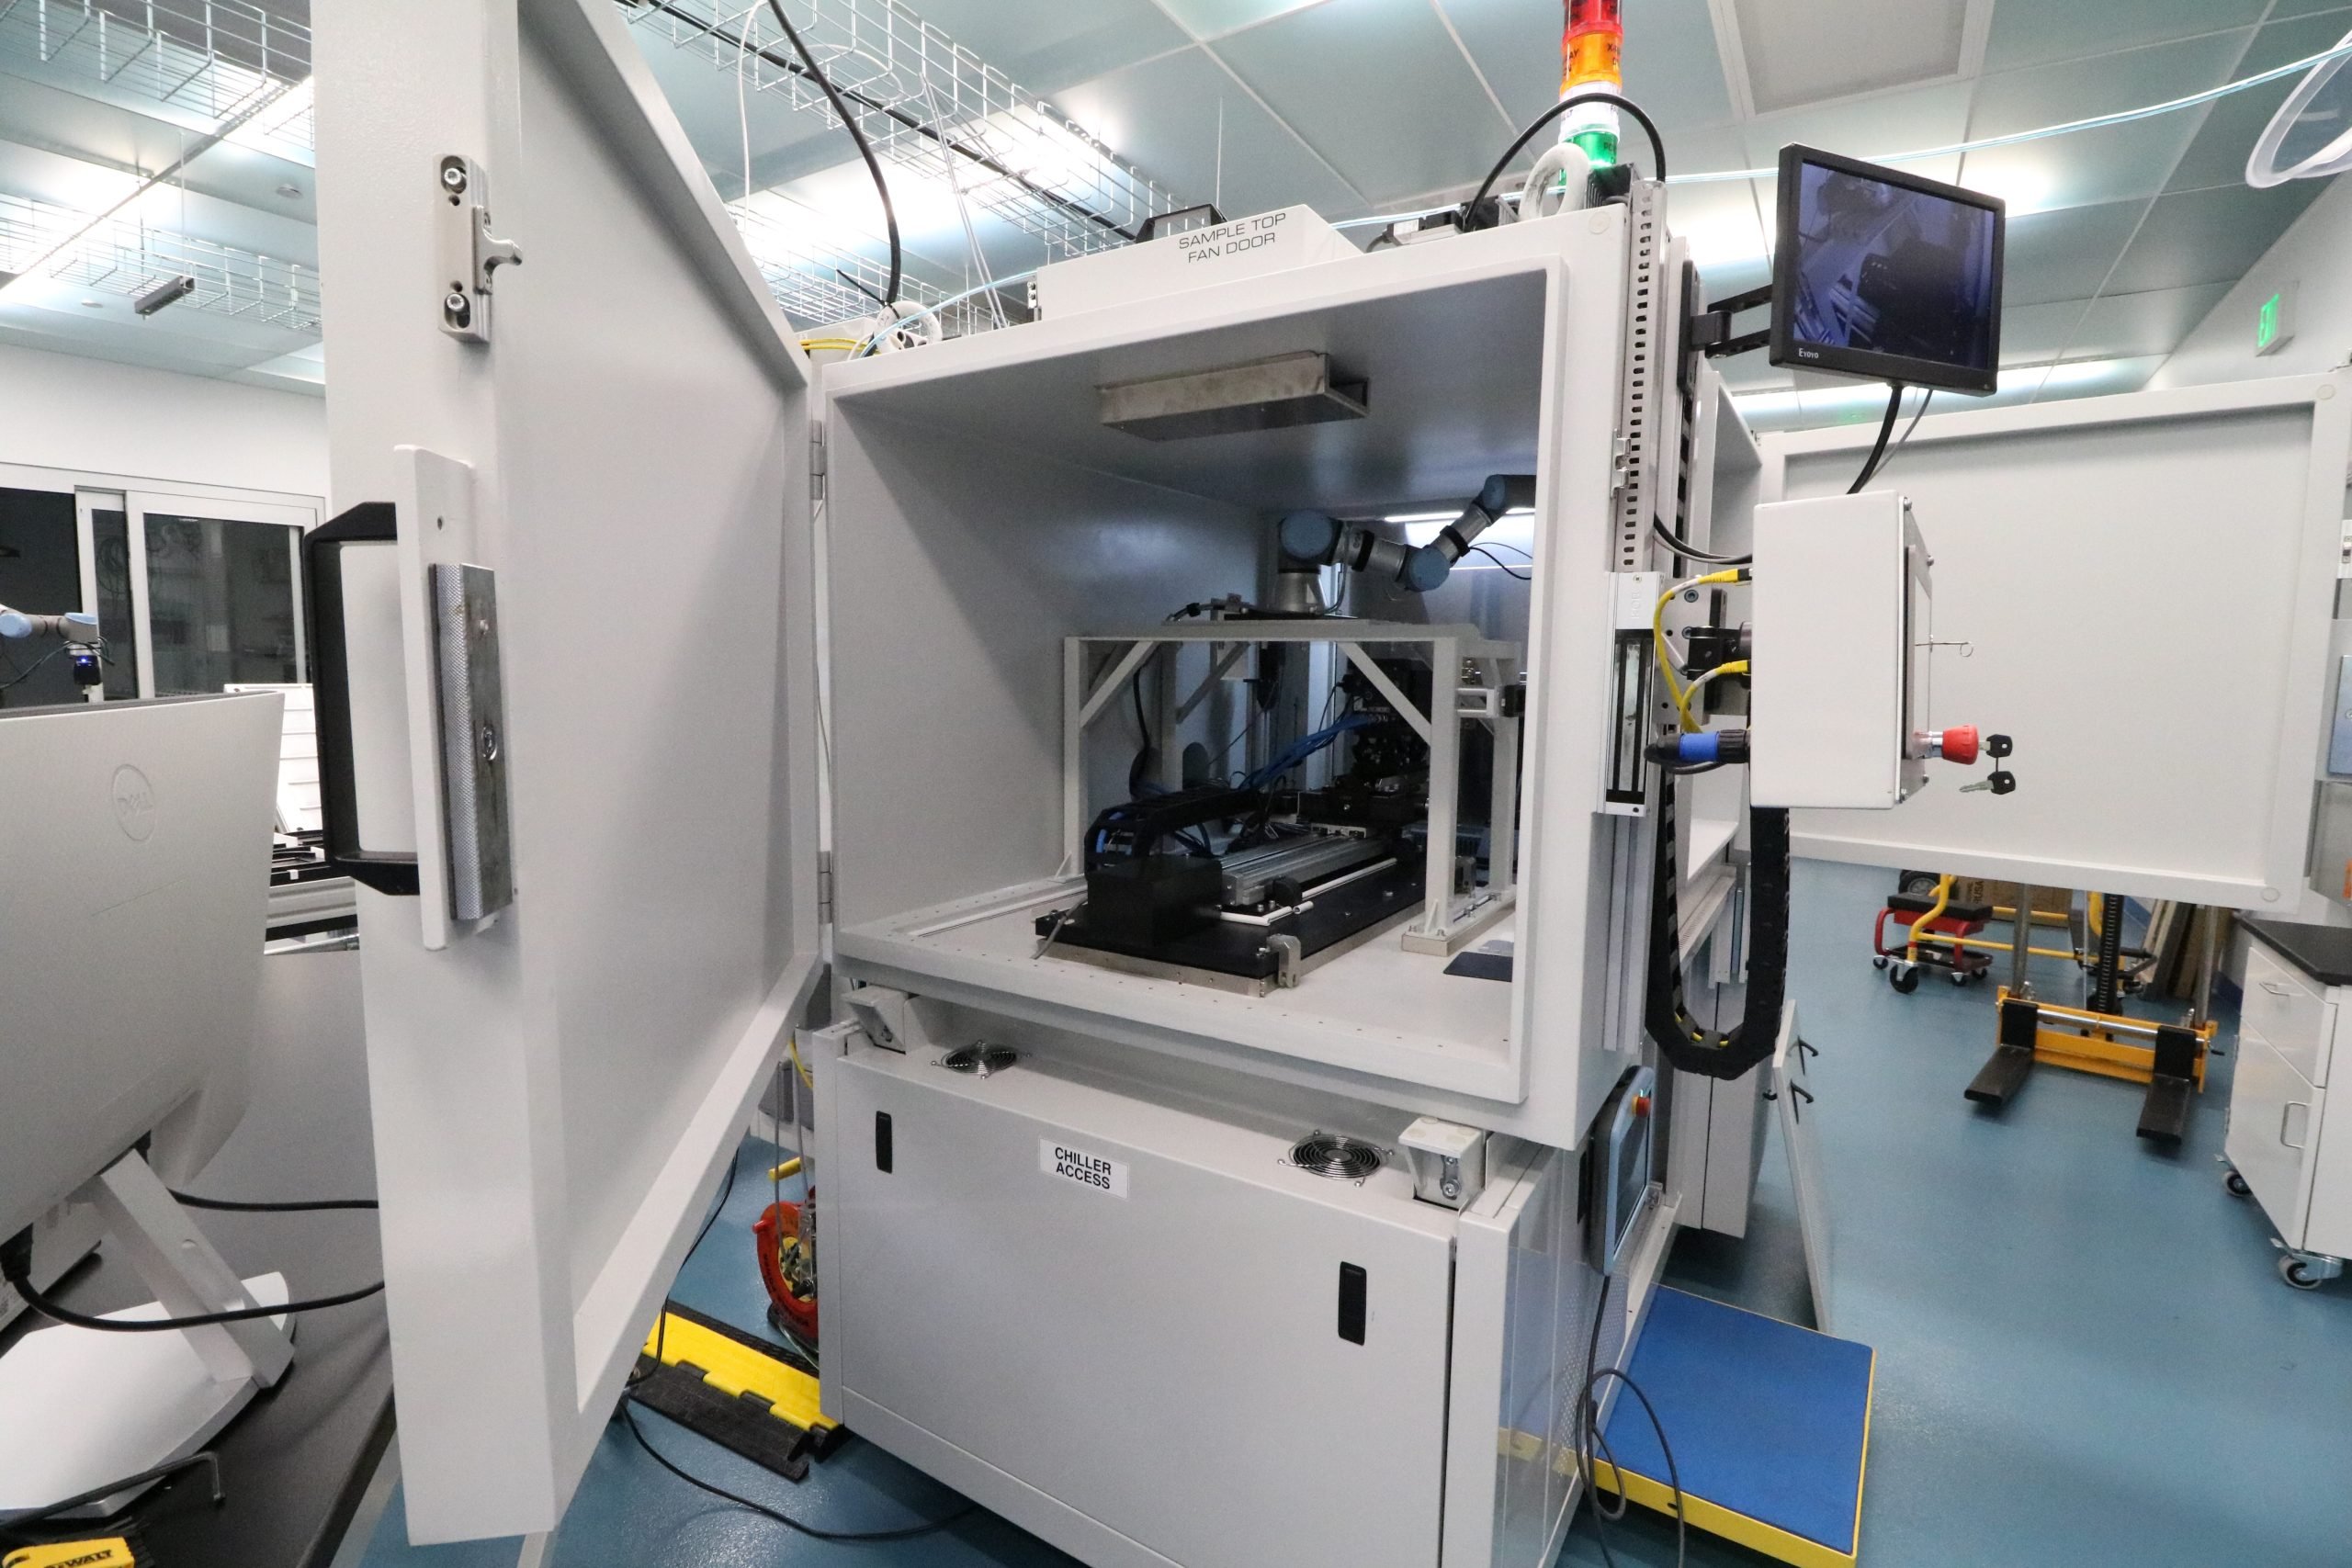
MAXIMA with door open, showing XRD, XRF, and robotic arm apparatuses.

Intelligent, guided autonomous materials research requires the ability to measure the microstructural properties of specimens and make correlations with mechanical properties and behavior. High-throughput microstructural characterization of structural materials is a challenge, however, because electron-based techniques such as SEM and EBSD require careful surface preparation and only examine the near-surface region.

To address these challenges, microstructural characterization in AIMD-L is performed with a unique instrument called MAXIMA (“Multimodal Automated X-ray Investigation of Materials”). MAXIMA is designed for automated, high-throughput characterization of materials using x-ray diffraction (XRD) and x-ray fluorescence (XRF) spectroscopy. It incorporates a liquid metal anode x-ray source with focusing optics to produce a small x-ray spot with sufficiently high energy (24 keV) to make XRD measurements in transmission through samples of structural metals as thick as 1 mm.

With x-ray diffraction we can identify and determine the amounts of crystalline phases present in small regions of our samples as well as the grain size and crystallographic texture. Because the measurements are made in transmission, we measure the microstructure through the entire thickness (in contrast to SEM/EBSD which only examine the surface). A key advantage of transmission XRD for high-throughput work is that no surface preparation is required, dramatically reducing the time required for characterization. With fully robotic sample handling, a small spot size (~200 micron), and a highly sensitive Eiger x-ray detector, MAXIMA is capable of recording hundreds of diffraction patterns per hour.

MAXIMA also provides quantitative information about the chemical composition of specimens by means of x-ray fluorescence spectroscopy (XRF). This is especially useful for combinatorial specimens where there is a gradient of chemical composition across the sample. XRD and XRF measurements can be made simultaneously, increasing the overall throughput of the system.

Automated data handling and processing is essential for high-throughput characterization. In AIMD-L, data are autonomously streamed from MAXIMA using OpenMSI [link] with automated data analysis pipelines that generate the azimuthally-integrated 1D diffraction patterns and perform quantitative composition analysis from the XRF data. The processed data are immediately available for examination by human operators and for use by the AI/ML algorithms that guide experiments in AIMD-L.
Principal Investigator: Todd Hufnagel

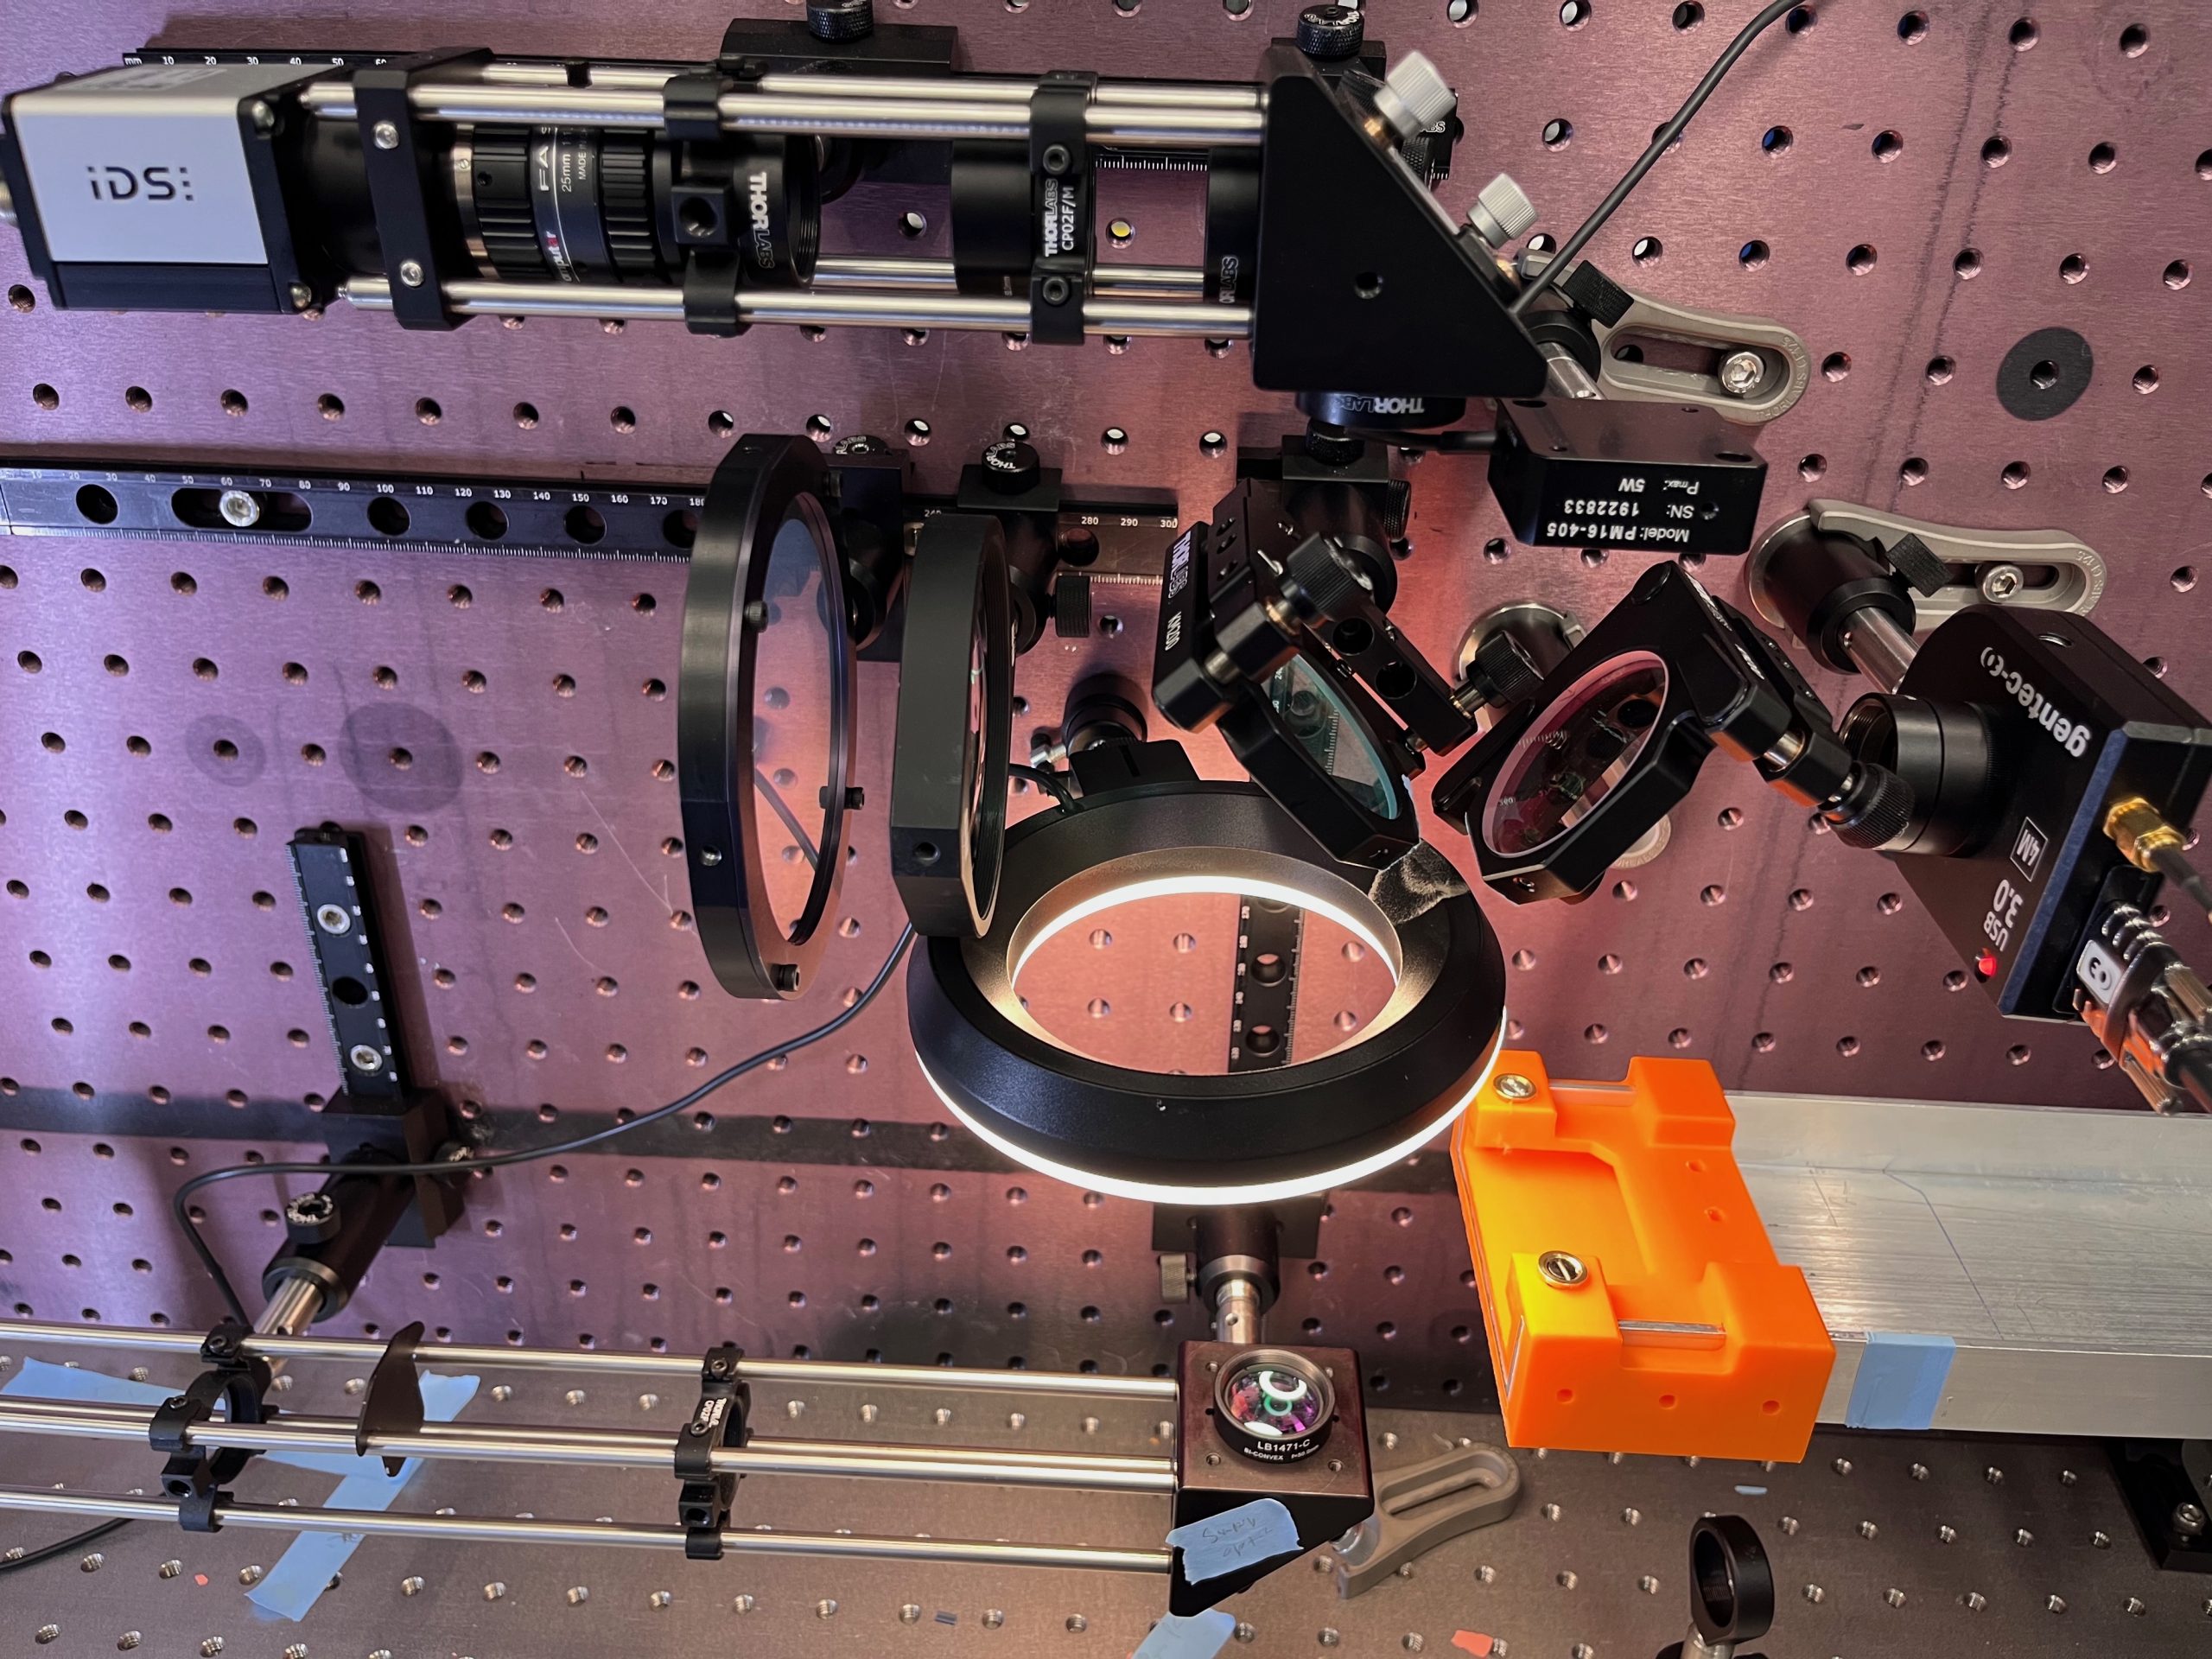
Laser shock apparatus
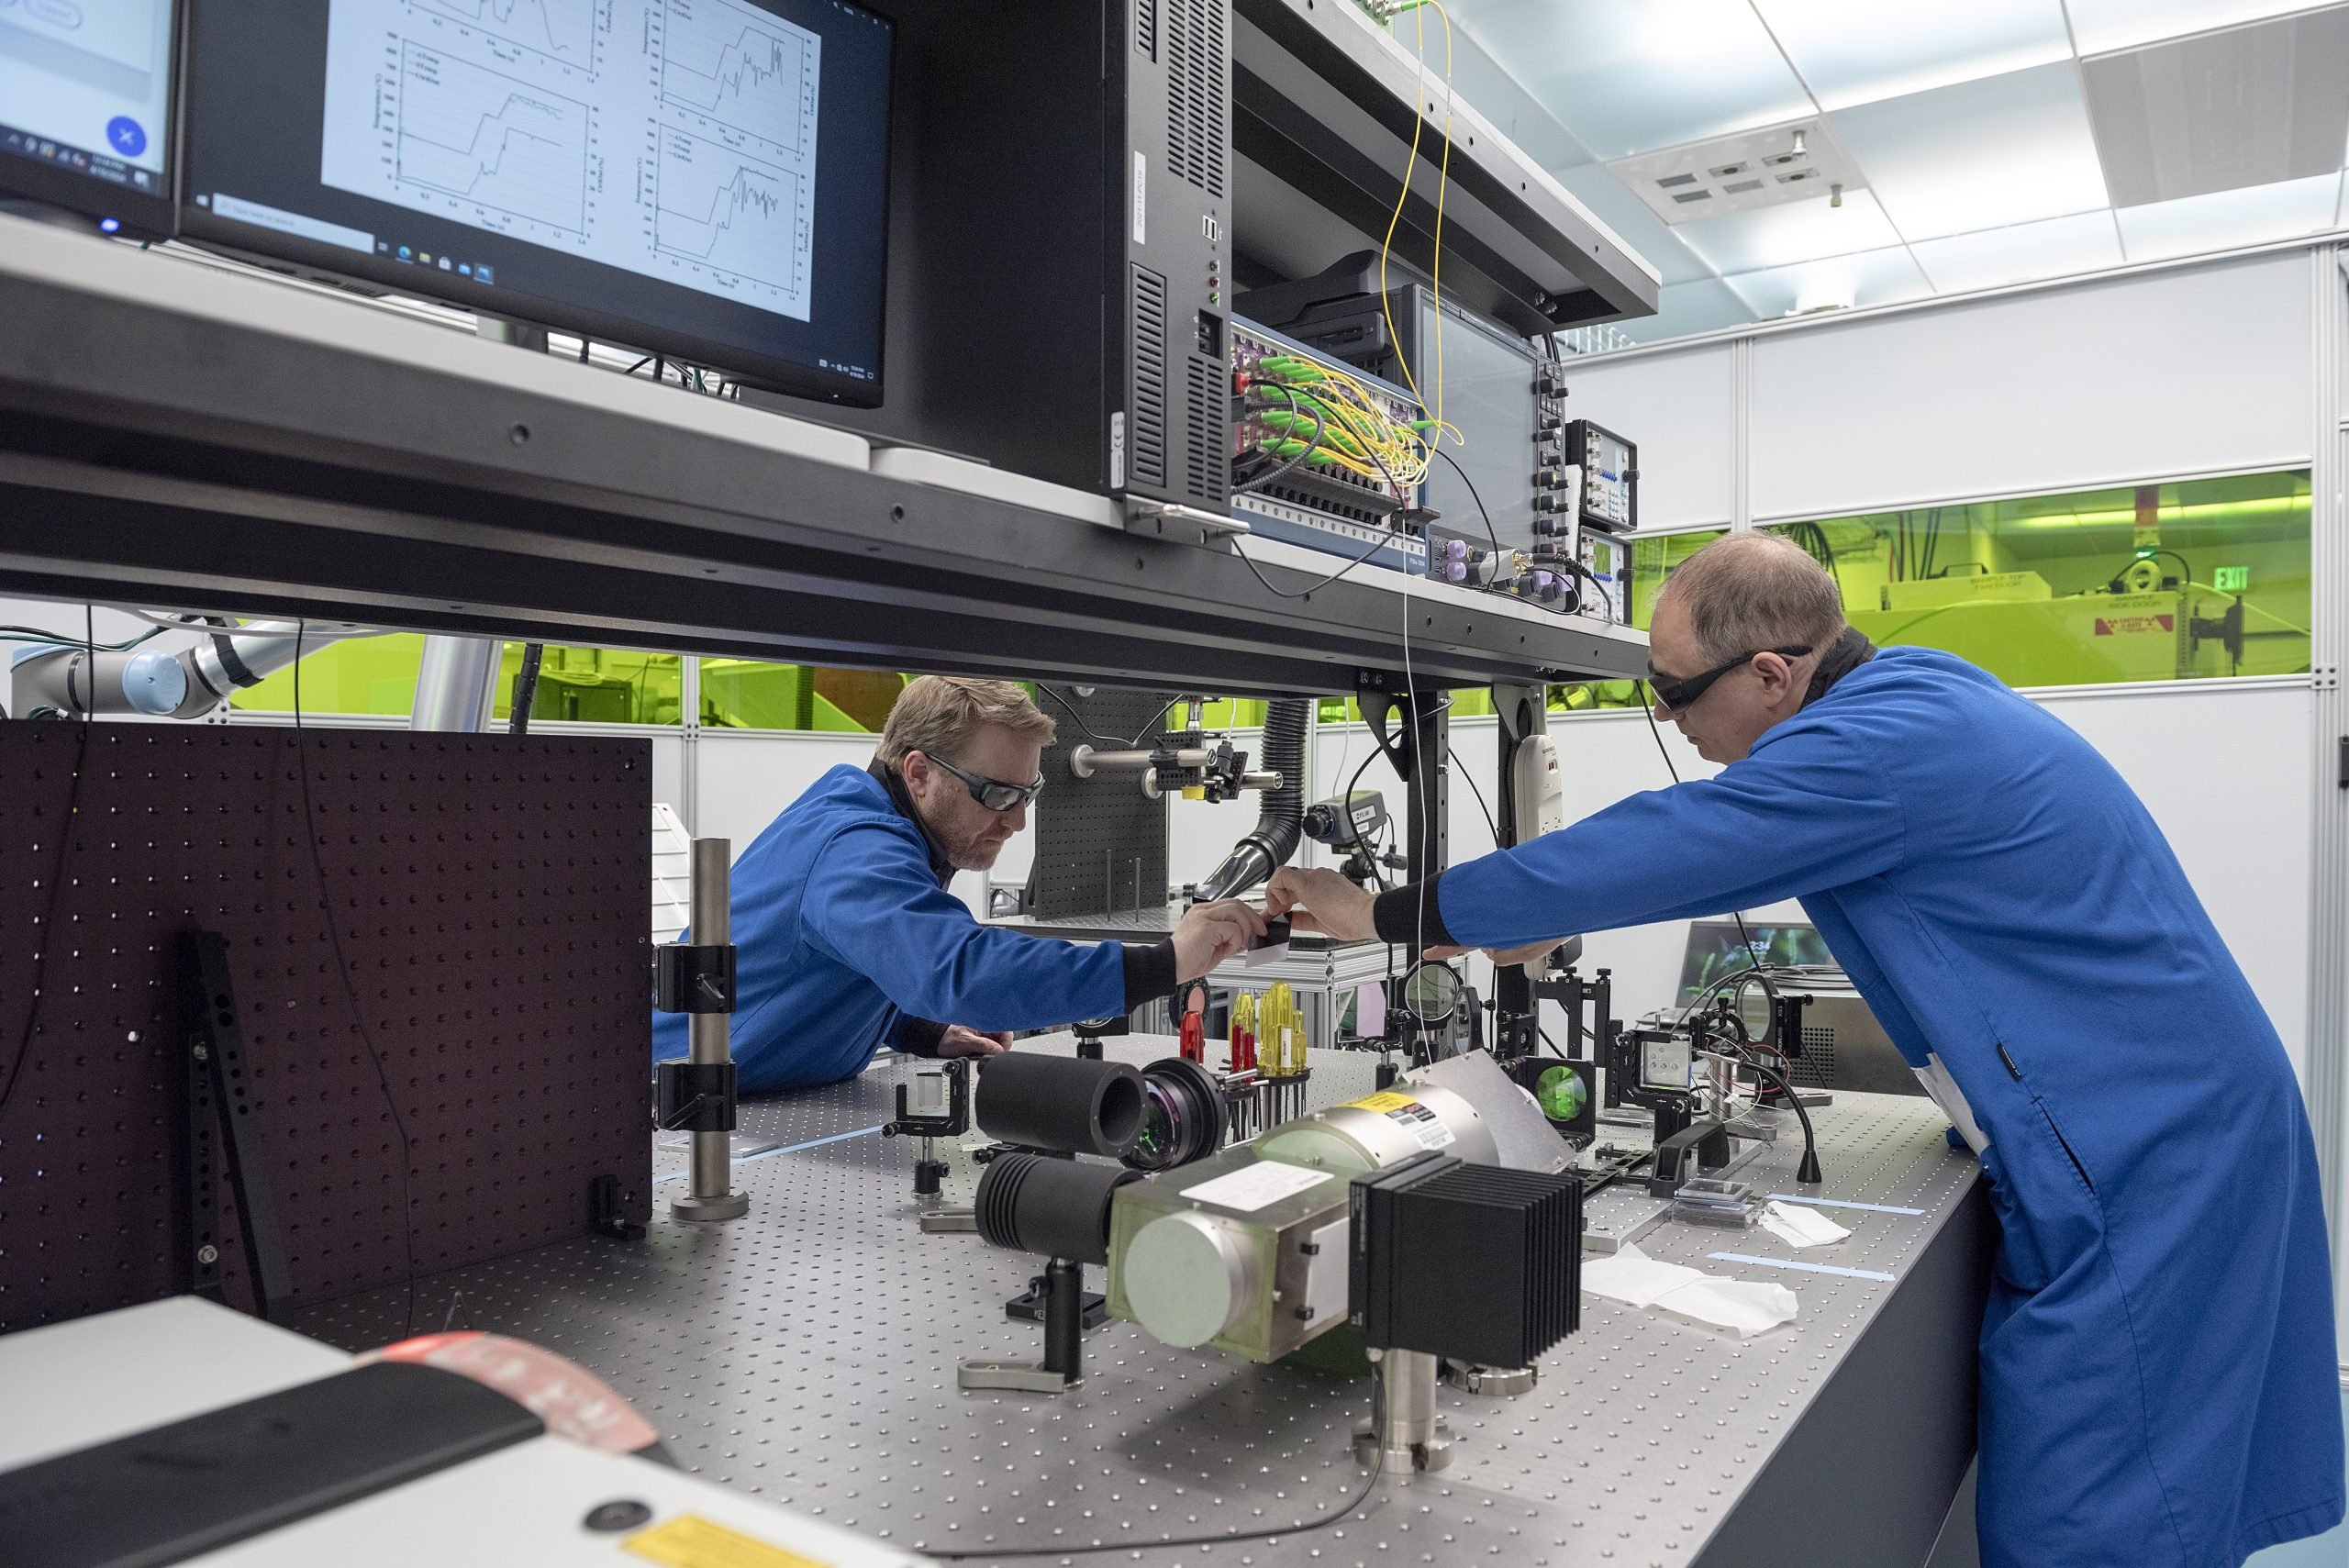
Two engineers working on HELIX (High-throughput Extreme Laser Impact eXperiment)

HELIX (High-throughput Extreme Laser Impact eXperiment) uses multiple lasers brought together onto structured targets to develop high-throughput measurements of the dynamic mechanical properties of materials. Flyer plates are launched using an infrared drive laser with controllable output energy per pulse. The pulses are stretched temporally to 21 ns, and spatially homogenized into a top-hat profile using a diffractive optical element. The laser pulse is focused onto a flyer assembly, creating a high-pressure plasma, which then drives the (metal) flyer plate at velocities in the range of 600-1250 m/s depending on the laser energy and thickness of the flyer plate. During the experiment, the rear free surface velocity of the target is measured using photon Doppler velocimetry (PDV) through a measurement laser. All PDV signals are automatically captured, streamed, and analyzed to ensure high-throughput operation.

Principal Investigator: KT Ramesh

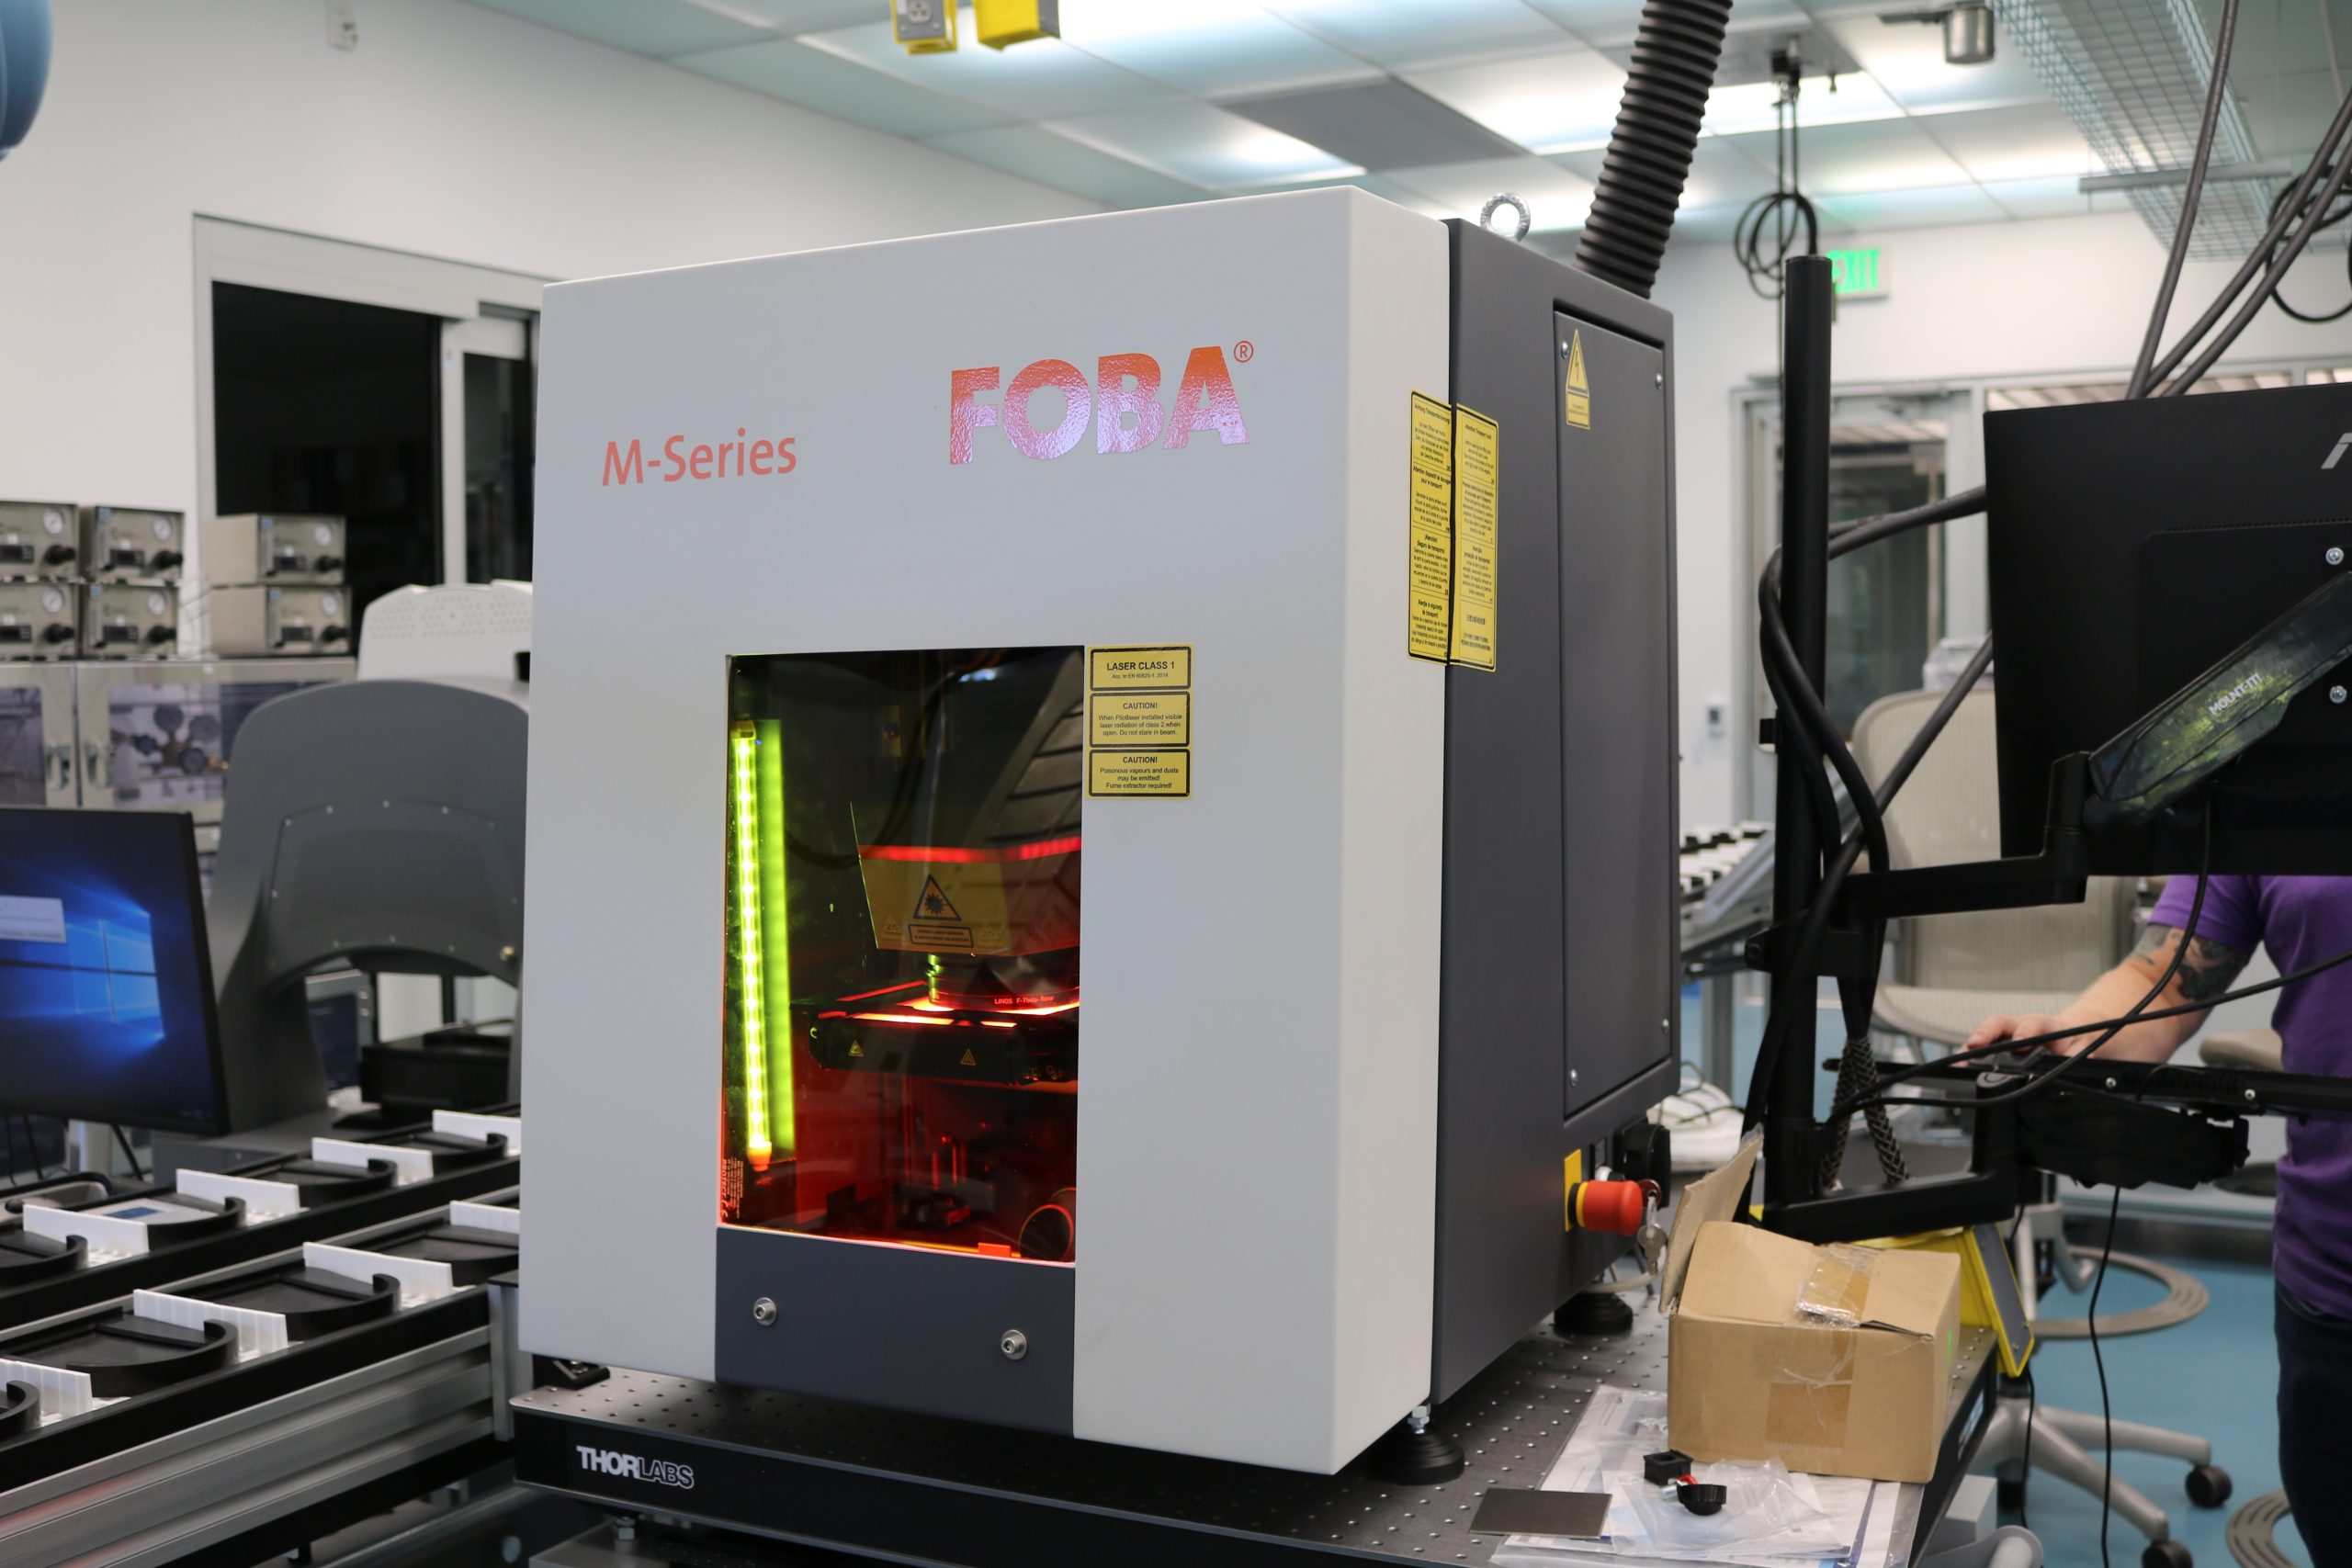
laser engraver

A nanosecond pulse laser engraves sample frames with QR codes, allowing samples to be tracked easily throughout the system. This computer-controlled laser has an average output of 20W and is powerful enough to engrave metals, ceramics, and plastics.

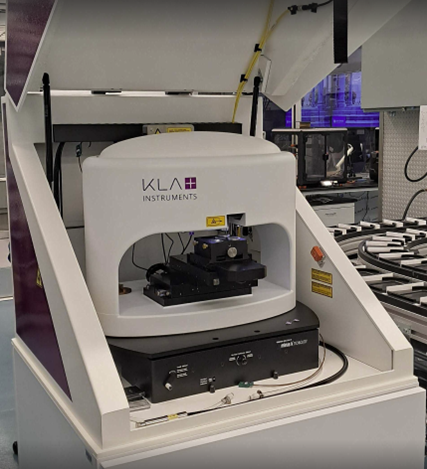
A KLA G200X nanoindenter

The Nanoindenter G200X from KLA is a versatile and high-precision instrument designed for microscale mechanical testing. It enables measurements of hardness and Young’s modulus across a broad spectrum of materials, including hard coatings and thin films. The system is equipped with two actuators, an XP Head and an IF50 actuator for loads up to 10 N and 50mN, respectively. Its integrated high-resolution optical microscope and precision XYZ stage enable accurate sample targeting, while its modular design supports advanced testing options like continuous stiffness measurement (CSM), strain-controlled and load-controlled tests, properties mapping, as well as high temperature testing.

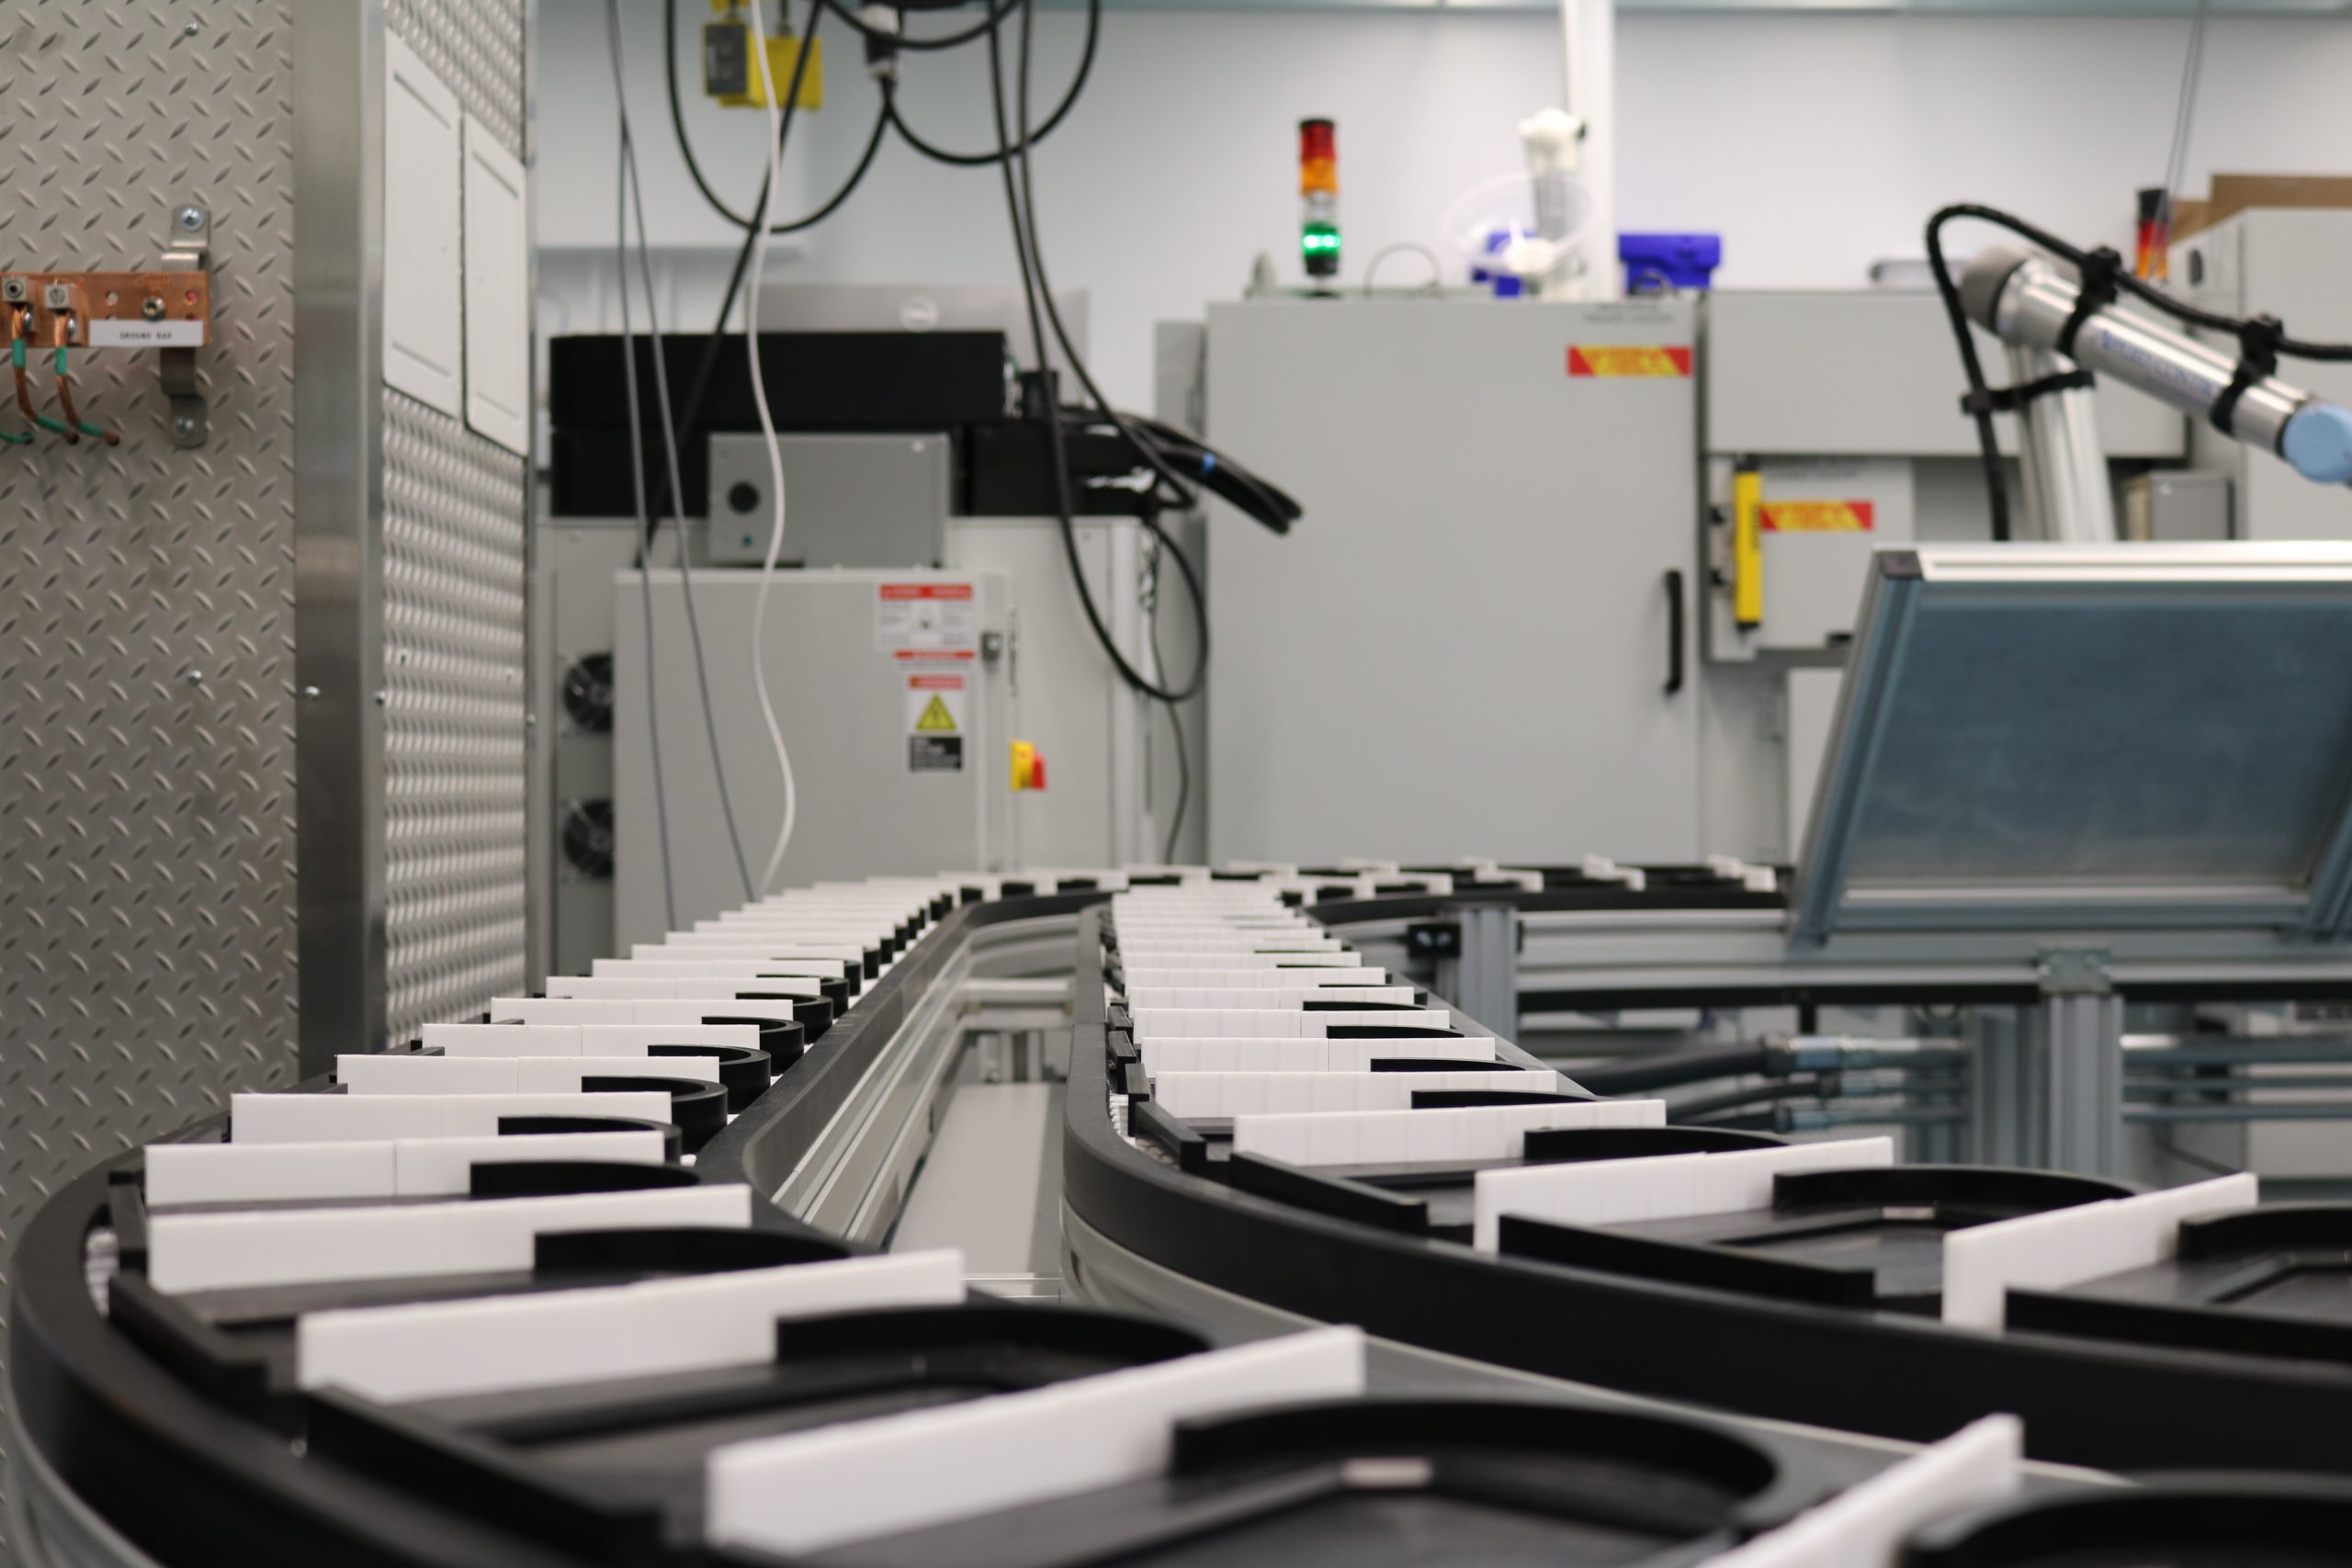
conveyor belt in an autonomous laboratory
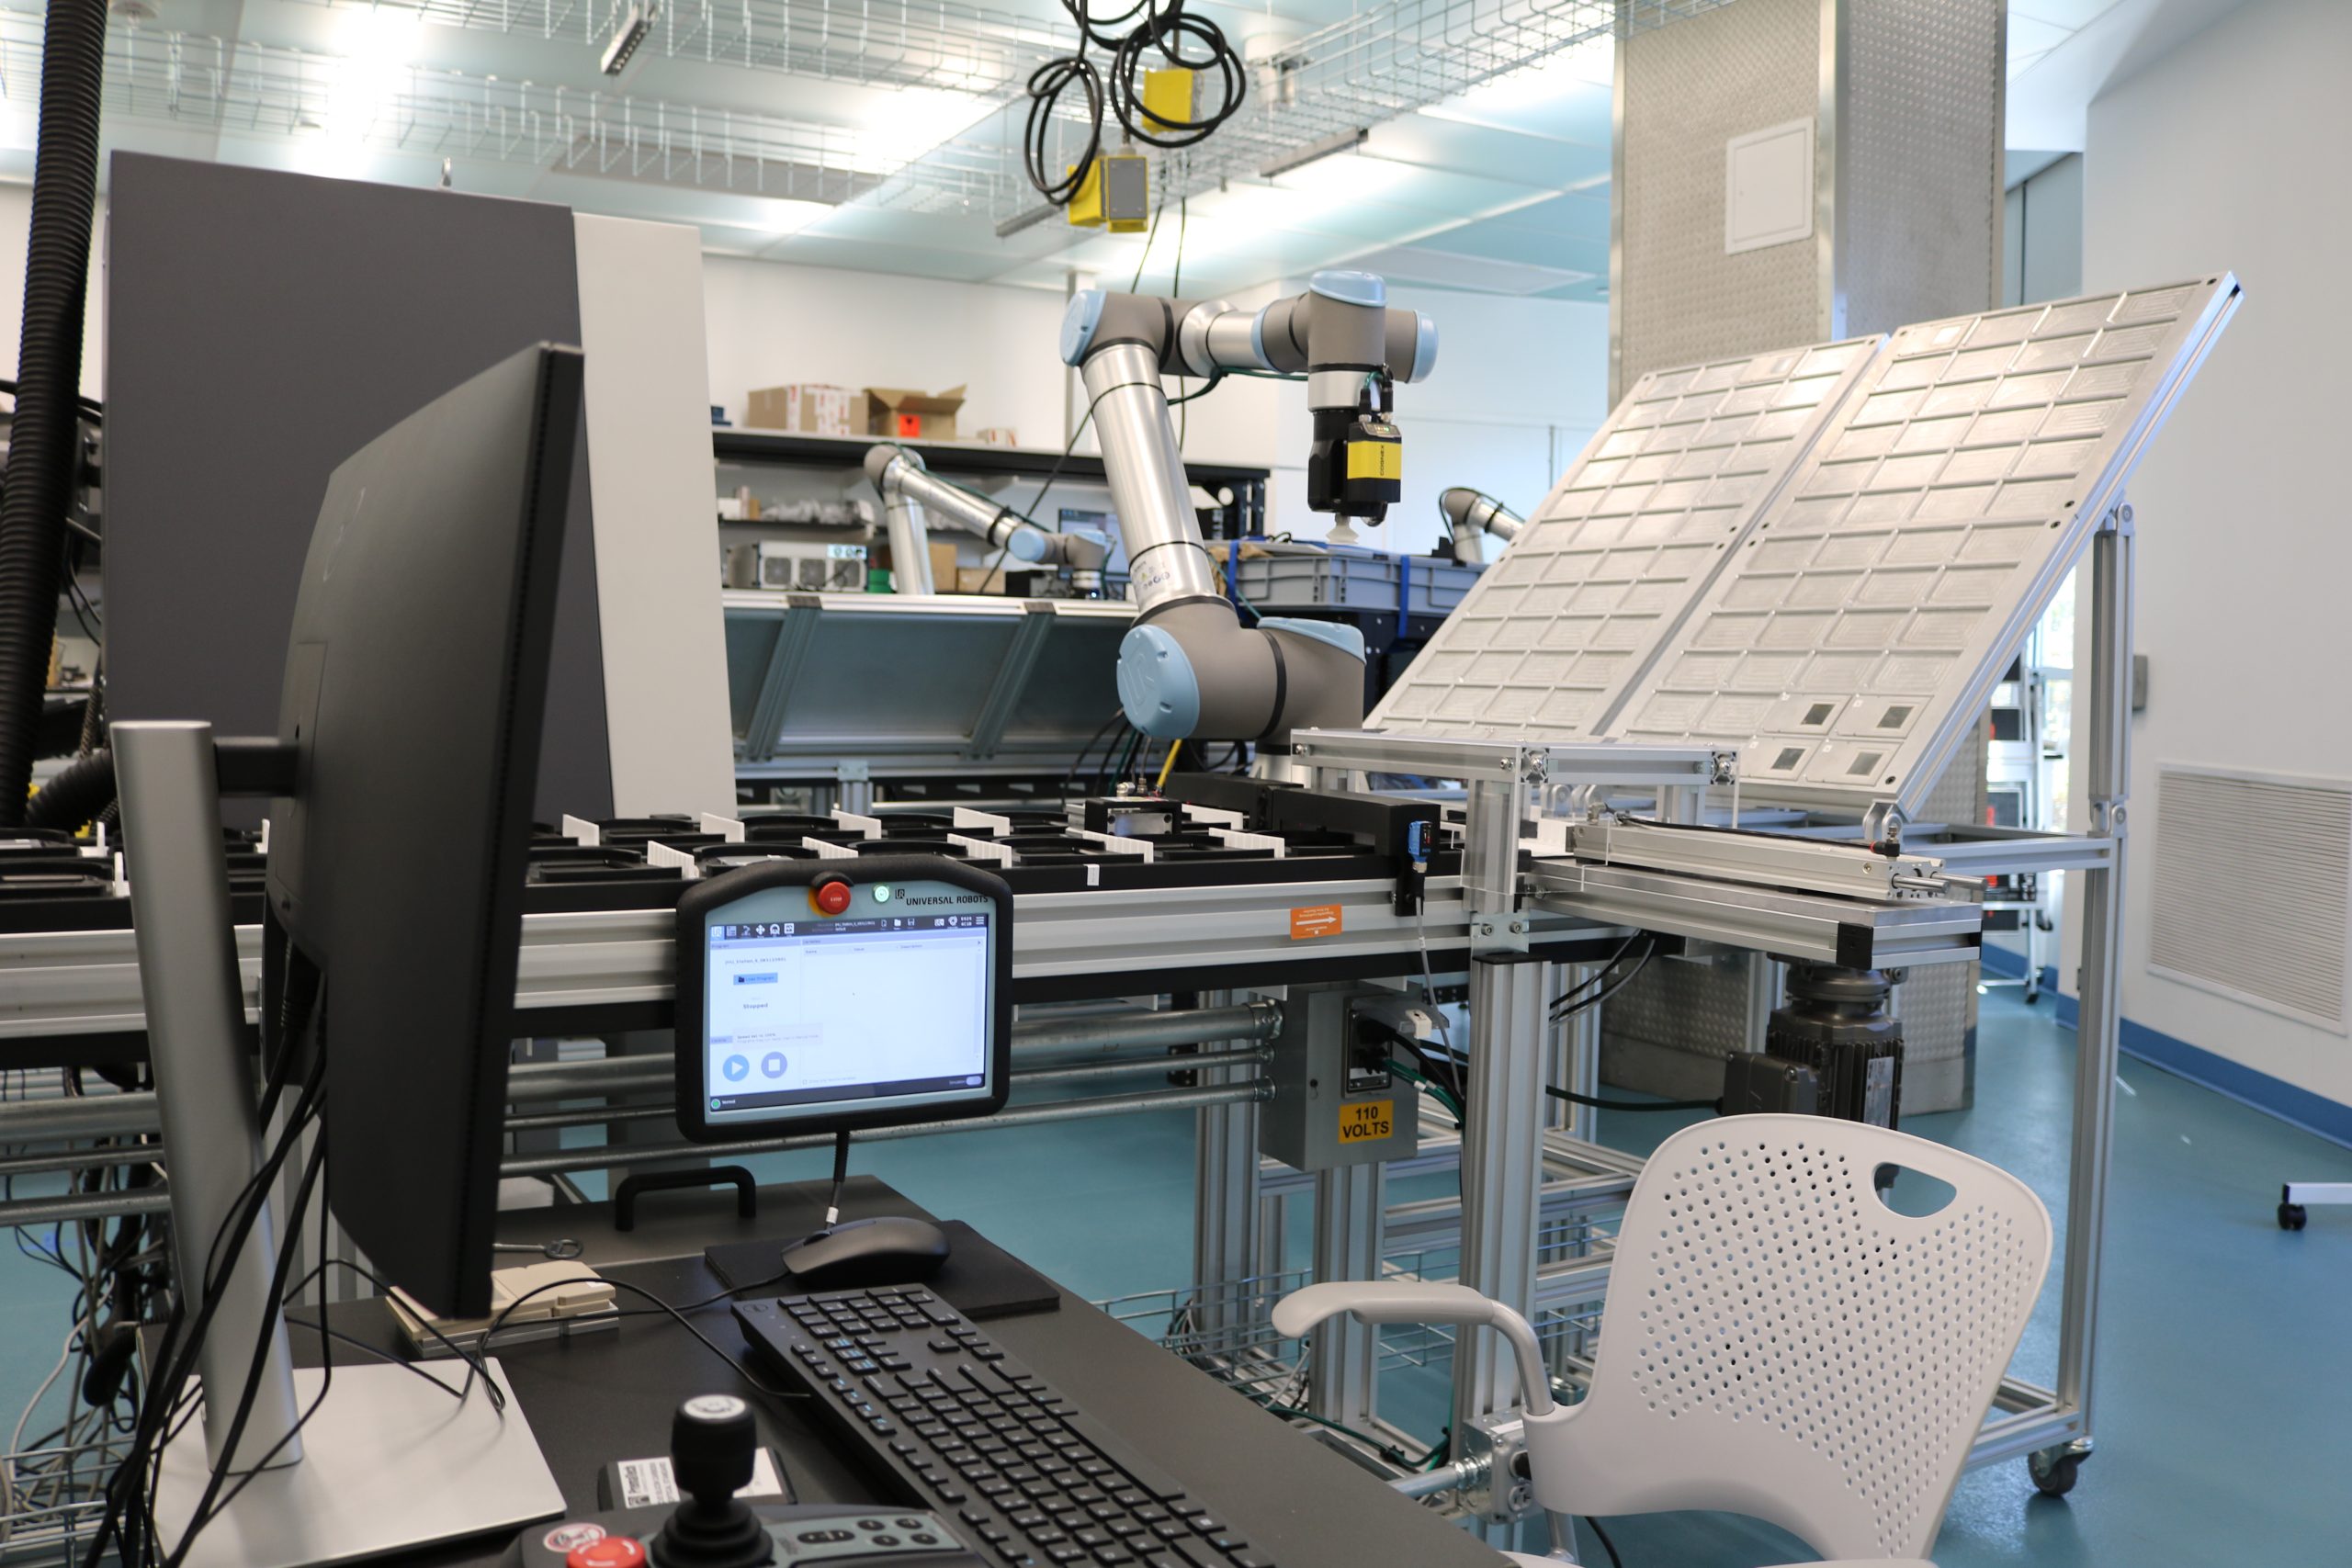
infeed/outfeed station with robotic arm and control panel
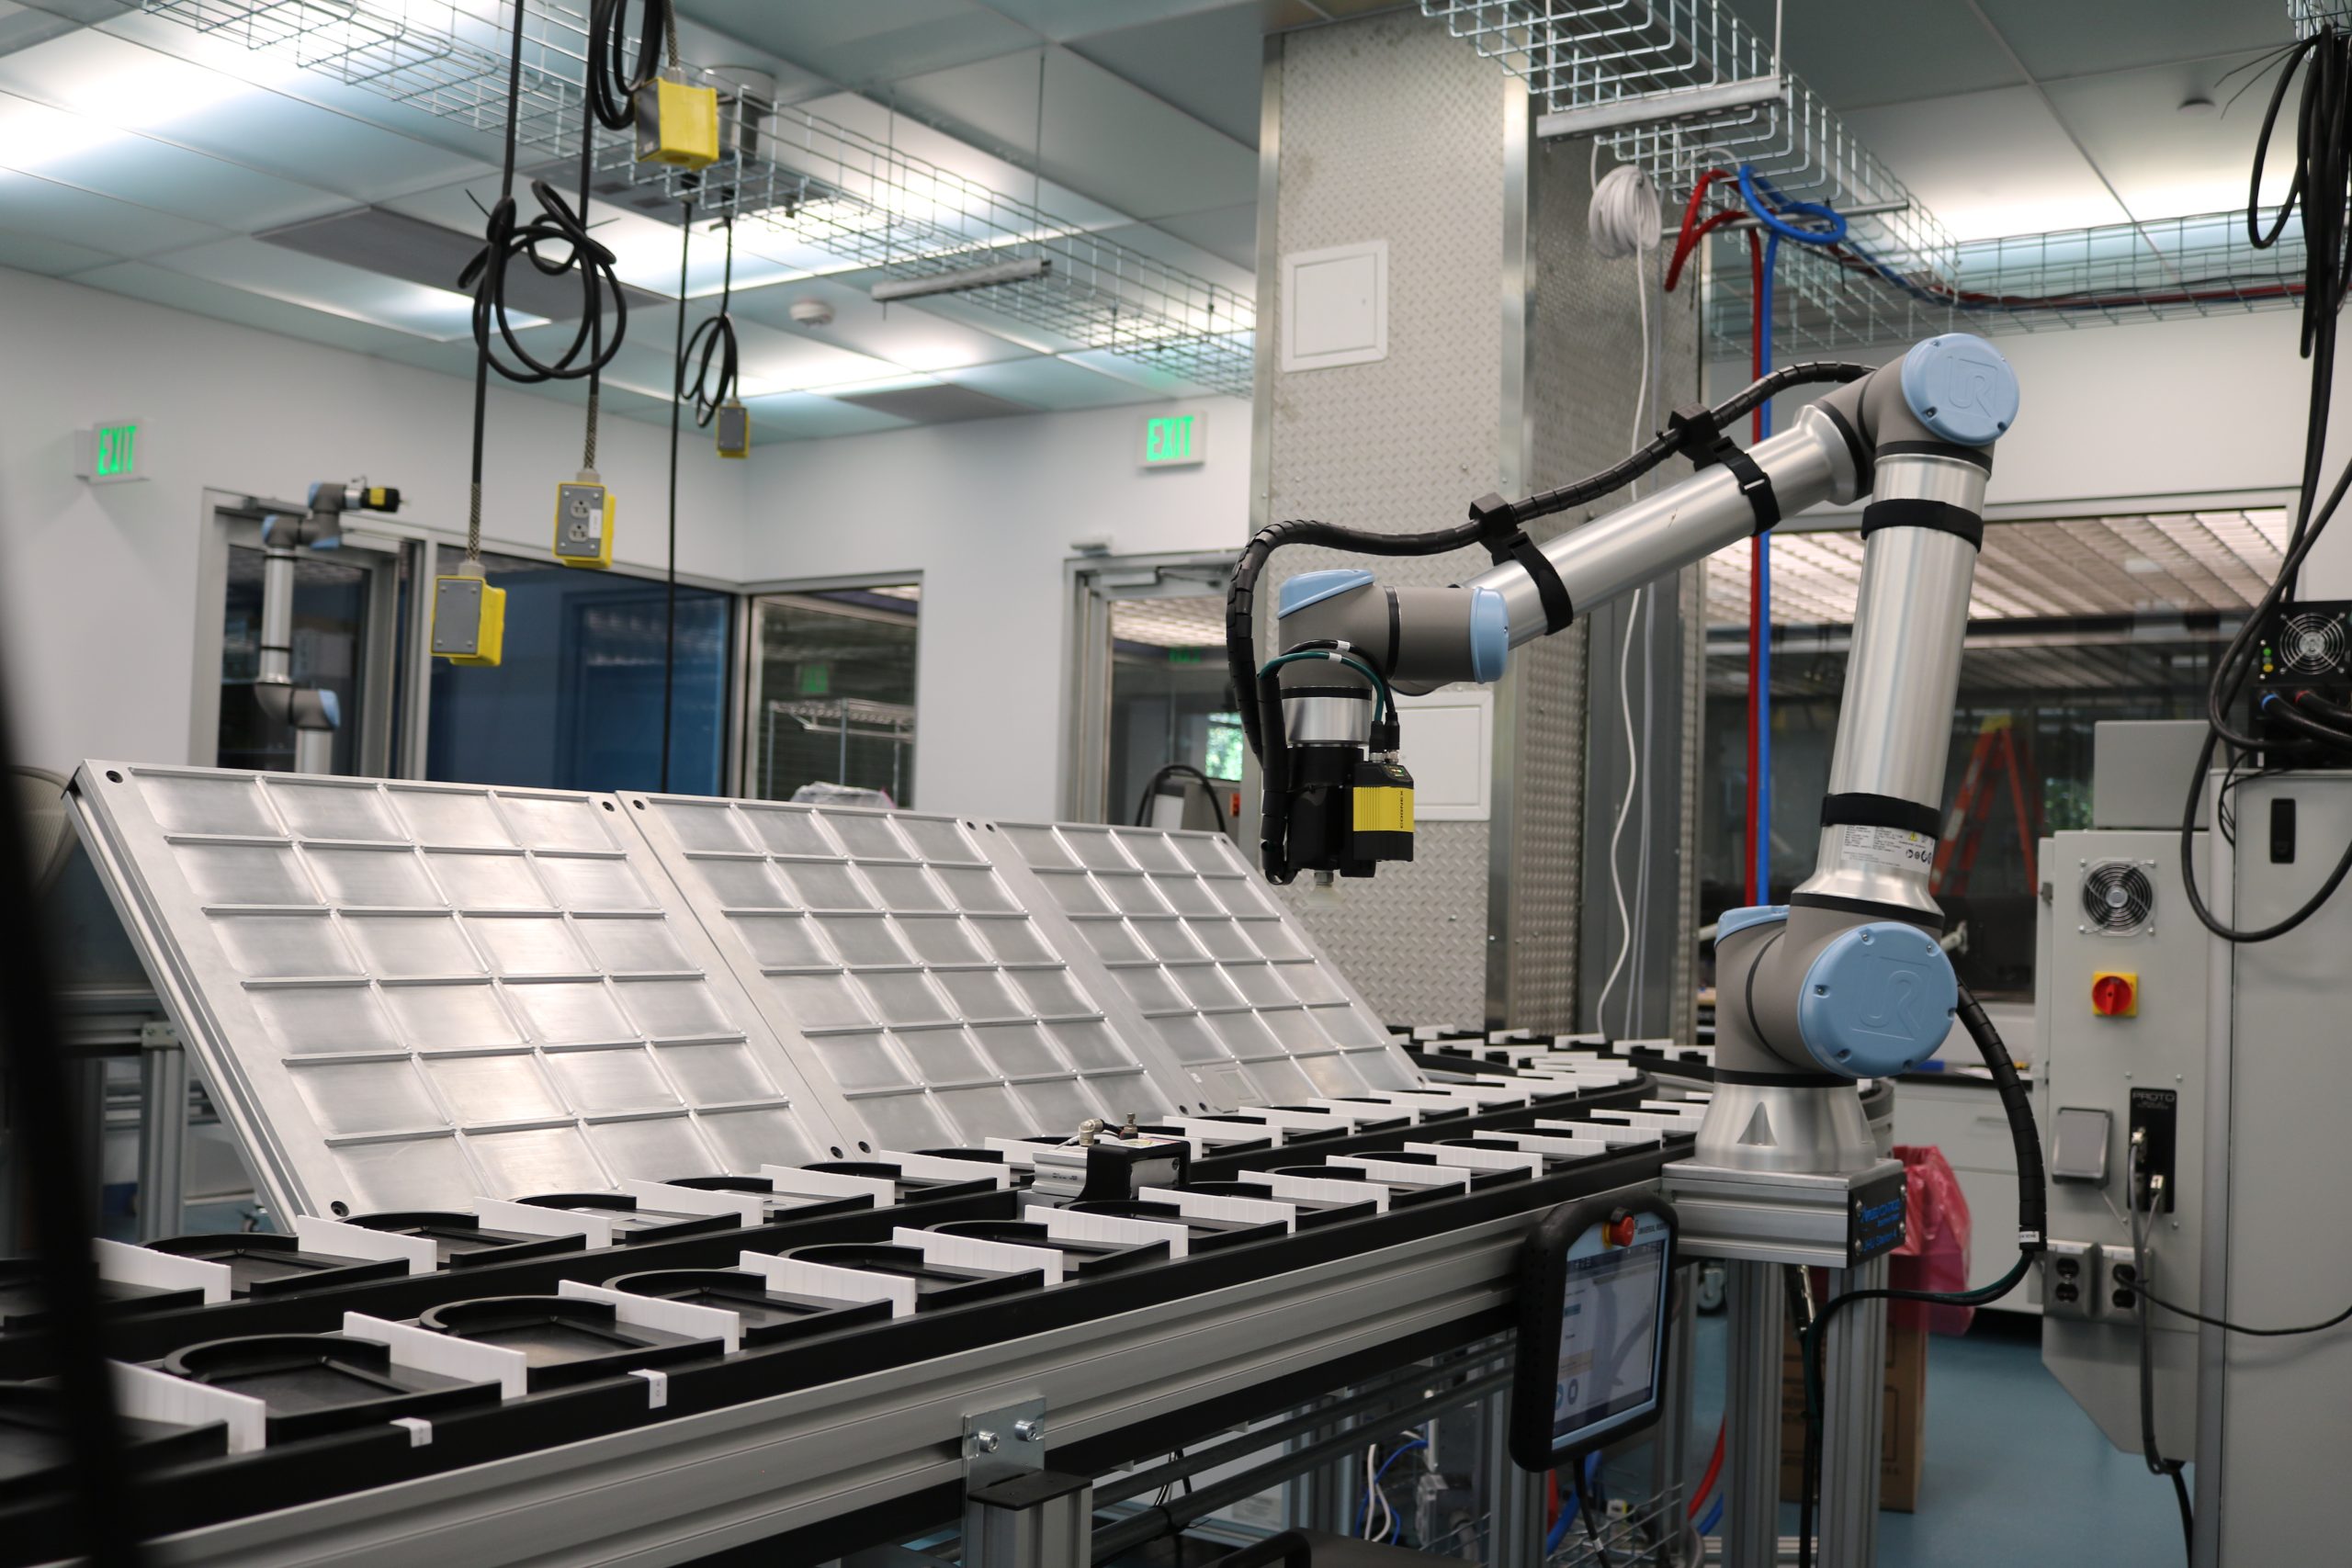
UR10e robot next to conveyance system

Conveyance system: A U-shaped conveyance system carries material specimens from station to station. The inner and outer tracks move in opposite directions, allowing samples to move clockwise or counterclockwise throughout the system as needed.

UR10e robots: Each robot has a reach of 51.2 inches and is capable of carrying a 27.55 lb payload. Equipped with vacuum grippers, the robots move material specimens from the conveyance system to their proper positions for processing, testing, and characterization.

Buffers: Samples begin and end their journey on these large trays, where a robotic arm adds them to or removes them from the conveyance system.

Principal Investigator: Axel Krieger

Lab Faculty and Staff

Todd Hufnagel

Director, AIMD Laboratory

Jaafar El-Awady

Associate Director, CAIMEE Director, AMDEE

Matt Shaeffer

Senior Staff Engineer

Pranav Addepalli

Assistant Research Engineer

Harichandana Neralla

Assistant Research Engineer

Joseph Nkansah-Mahaney

Associate Staff Engineer

Eric Walker

Associate Research Engineer